Hydraulic cylinders are the backbone of heavy machinery, but even the most robust units eventually require maintenance. Before attempting any repair, it’s essential to first recognize when a cylinder actually needs attention—our guide on Common Signs Your Hydraulic Cylinder Needs Repair covers the warning signs in detail. While a Hydraulic Cylinder Repair might seem daunting to beginners, understanding the basic process helps you assess whether it’s a job for your in-house team or best left to professionals. Whether you are dealing with a leaking seal on an Engineering Hydraulic Cylinder or a damaged rod in other applications, a systematic approach is essential. In this guide, we’ll walk you through the standard steps involved in a proper Hydraulic Cylinder Repair.
1. Safety First: Preparation and Disassembly
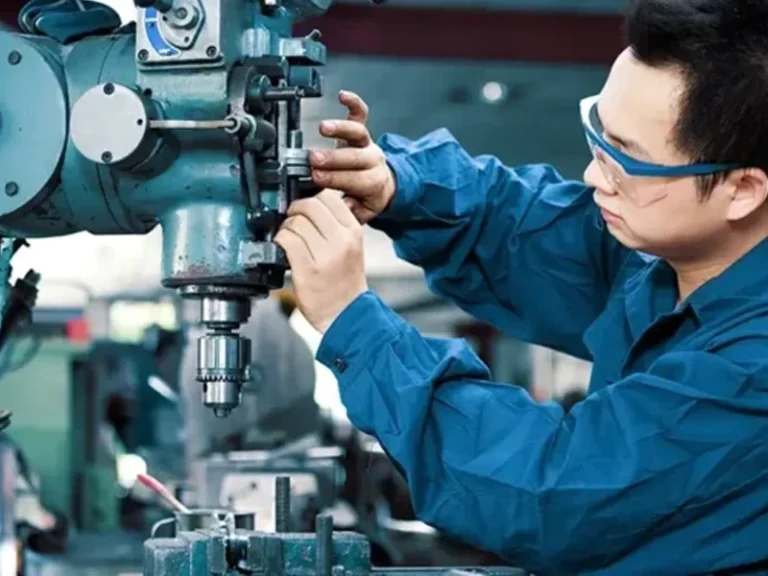
Before touching any component, safety must be your top priority. Hydraulic systems store immense energy, even when the equipment appears turned off.
Start by relieving system pressure completely. Disconnect the hydraulic lines and label them clearly to avoid confusion during reassembly. Carefully remove the cylinder from the equipment using appropriate lifting gear—cylinders are often heavier than they look. Once on a clean workbench, begin disassembly by removing the retaining ring or gland nut. Extend the rod to expose the internals, then carefully extract the piston and rod assembly. This initial phase sets the foundation for a successful Hydraulic Cylinder Repair.
2. Inspection and Diagnosis
With the cylinder fully disassembled, it’s time to inspect every component. A thorough diagnosis prevents repeat failures.
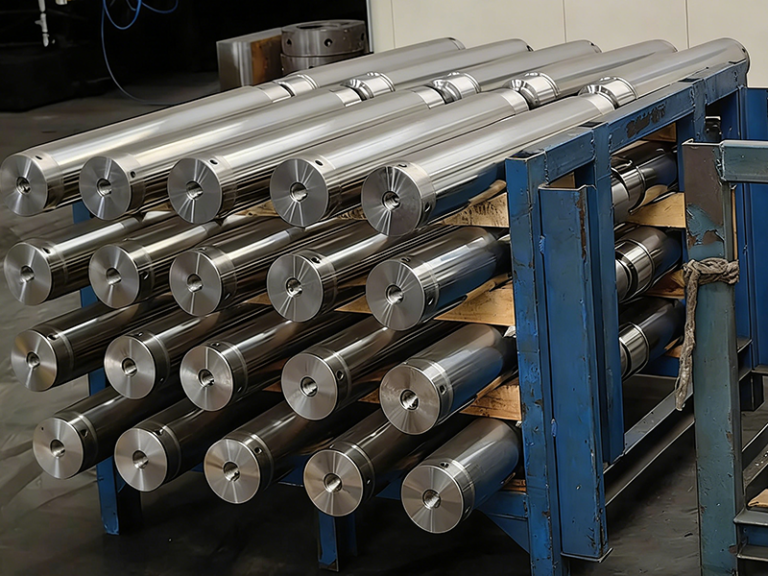
Rod: Check for scoring, bending, or chrome flaking. Even minor scratches will destroy new seals.
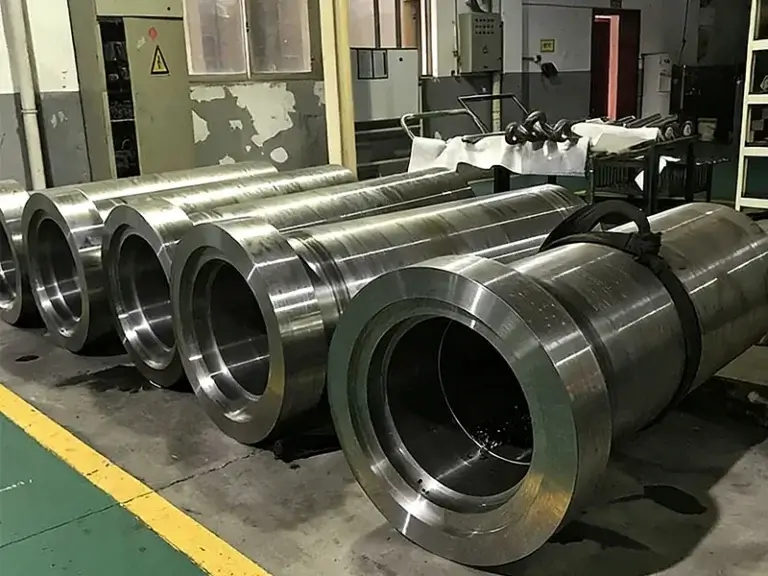
Barrel: Look for scoring, pitting, or out-of-round conditions. A damaged barrel requires honing or replacement.
Piston and Gland: Inspect for cracks or excessive wear.
Seals: Old seals often provide clues—flattening, nicks, or extrusion indicate specific failure modes.
Skipping this step often leads to premature failure of the new parts. A professional Hydraulic Cylinder Repair always begins with a detailed root-cause analysis to ensure the same issue doesn’t recur.
3. Selecting the Right Seal Kit
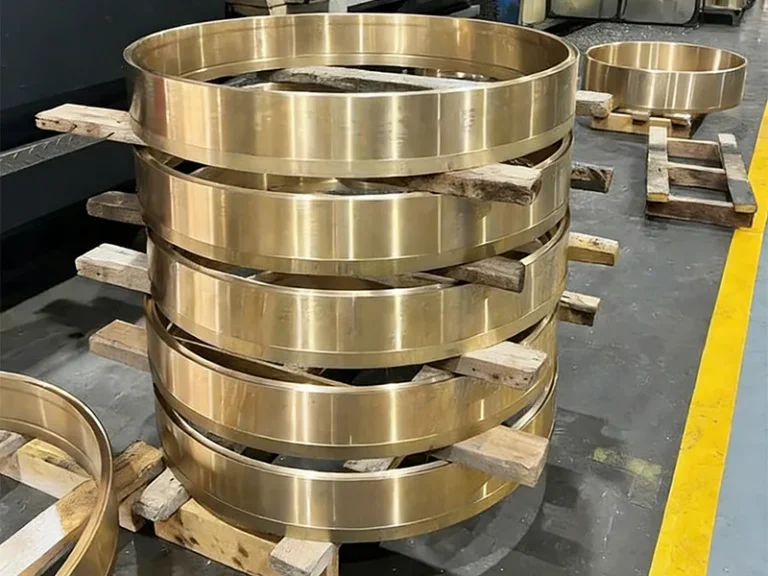
Once you have identified the cylinder’s specifications (bore size, rod diameter, and manufacturer), the next step is sourcing a high-quality seal kit. Seals are the most critical wear components in a cylinder.
Using OEM-grade or equivalent seals is crucial. Low-quality seals may not withstand the pressure, temperature, or chemical exposure specific to your application. For Vehicle Hydraulic Cylinder applications, seal durability is especially critical due to varying road conditions and temperature extremes. During a Hydraulic Cylinder Repair, replacing all seals—including wipers, rod seals, piston seals, and O-rings—is standard practice, even if some appear intact.
4. Cleaning and Preparation
Hydraulic systems are extremely sensitive to contamination. Before installing new seals, all metal components must be meticulously cleaned.
Use a non-flammable solvent and lint-free cloths to remove old hydraulic fluid, varnish, and debris. Pay special attention to seal grooves and threaded areas. After cleaning, inspect the component surfaces again; contaminants can hide small scratches that were previously unnoticed. A clean environment is non-negotiable for a durable Hydraulic Cylinder Repair. Sourcing parts from a reputable Hydraulic Cylinder manufacturer ensures that replacement components meet the required cleanliness and precision standards.
5. Installing New Seals
Seal installation requires patience and the right tools. Sharp edges on the piston or gland can easily cut a new seal during assembly.
Lubricate all seals and components with clean hydraulic fluid or assembly gel. Use seal installation sleeves or wrap the rod threads with tape to prevent nicks. Ensure seals are seated squarely in their grooves—twisted or rolled seals will fail immediately upon pressurization. If the rod or piston has sharp edges, carefully break them with a fine stone to protect the seals. This meticulous attention to detail is what separates a lasting Hydraulic Cylinder Repair from a short-term fix.
6. Reassembly
With new seals in place, it’s time to reassemble the cylinder. Carefully insert the piston and rod assembly back into the barrel, ensuring the rod threads or any sharp edges do not damage the new gland seals.
Torque the piston nut and gland nut to the manufacturer’s specifications. Over-tightening can distort components, while under-tightening leads to loosening under vibration. For cylinders sourced from a trusted double acting cylinder factory, following the original torque specifications is essential to maintain the integrity of the double-acting design. After reassembly, cycle the cylinder by hand (if possible) to ensure smooth movement before reinstalling it on the equipment.
7. Testing After Repair
A repair isn’t complete until the cylinder has been tested. After reinstalling the cylinder and reconnecting the hydraulic lines, run the equipment at low pressure first to purge air from the system.
Cycle the cylinder through its full range of motion several times, checking for leaks, smooth operation, and proper speed. Listen for unusual noises. If the cylinder drifts or hesitates, there may still be air in the system or an internal issue. Whether you’re working with a standard hydraulic piston cylinder or a more complex configuration, a proper Hydraulic Cylinder Repair concludes only when the cylinder operates exactly as it did when new—or better.
Conclusion
Repairing a hydraulic cylinder is a systematic process that blends mechanical skill with attention to detail. From safe disassembly and careful inspection to precise seal installation and thorough testing, each step plays a vital role in the final outcome.
While experienced technicians can perform a reliable Hydraulic Cylinder Repair in-house, complex issues like bent rods, scratched barrels, or advanced seal configurations often require specialized equipment. If you lack the necessary tools or expertise, partnering with a professional repair service or the original equipment manufacturer (OEM) ensures the job is done safely, efficiently, and to the highest standard—saving you time and preventing costly secondary failures.