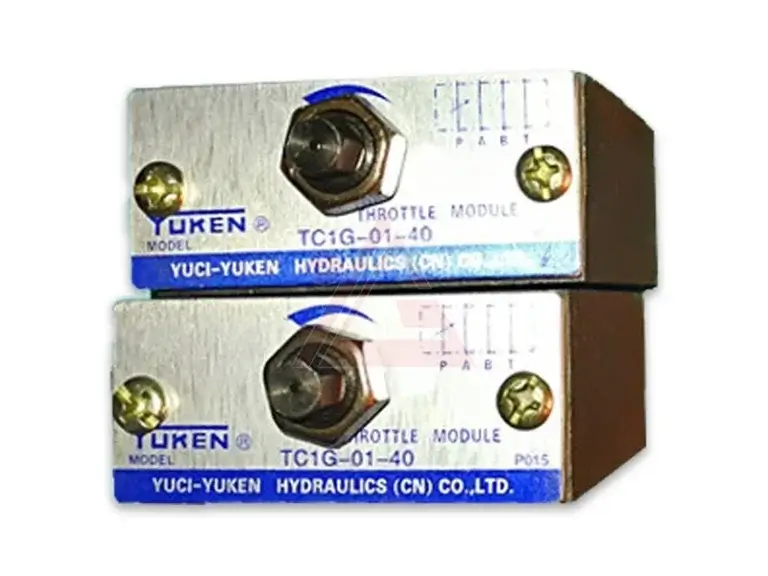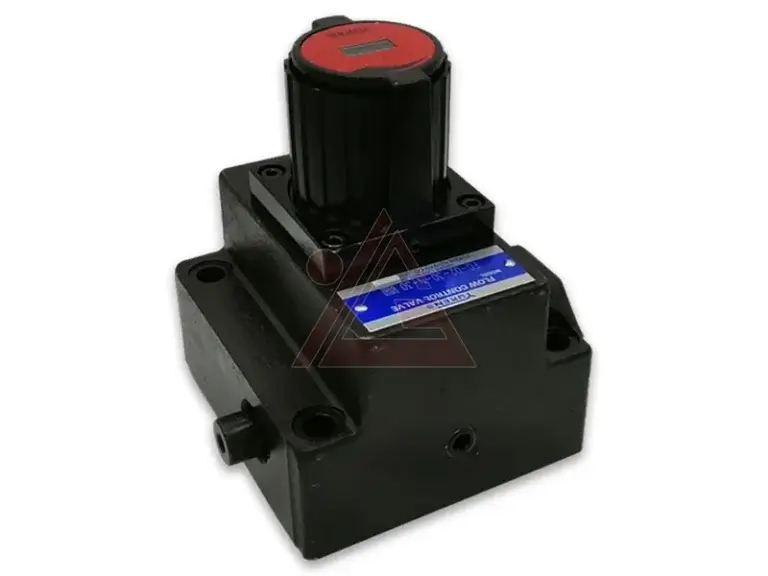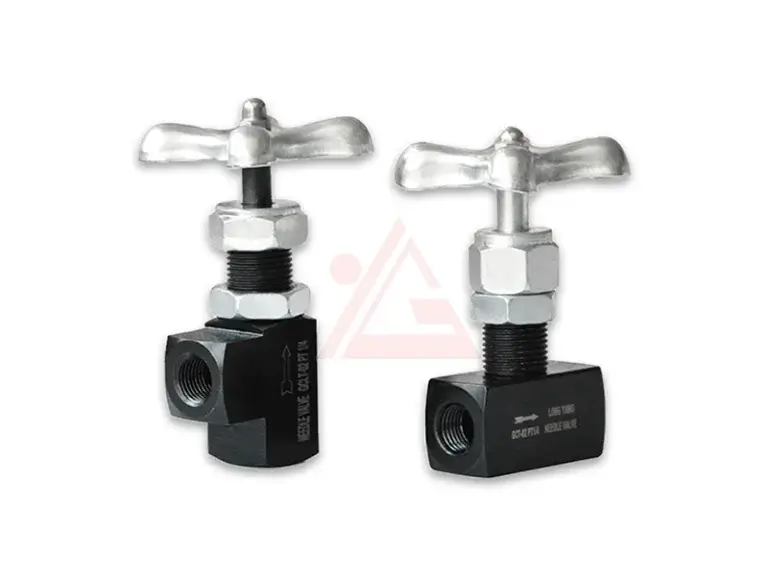
A Hydraulic Flow Control Valve is an essential component for regulating the speed of hydraulic cylinders. By controlling the volume of fluid entering or leaving the cylinder, these valves determine how fast a cylinder extends or retracts. Proper installation and hook-up of a Hydraulic Flow Control Valve are critical for achieving precise speed control, preventing system damage, and ensuring safe operation.
This guide provides a comprehensive, step-by-step approach to installing and connecting a Hydraulic Flow Control Valve for cylinder applications, covering everything from safety preparations to final testing and adjustment.
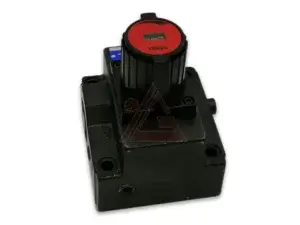
1. Understanding the Role of Hydraulic Flow Control Valves
Before installing any Hydraulic Flow Control Valve, it is important to understand what these valves do and why they are used. A Hydraulic Flow Control Valve regulates the rate of fluid flow in a hydraulic circuit. By doing so, it directly controls the speed of hydraulic cylinders and motors.
Meter-in control refers to controlling the flow of fluid entering the actuator—this is typically used when the load opposes the direction of movement. Meter-out control refers to restricting the flow of fluid leaving the actuator—this is often used for controlling overrunning loads where the load tends to pull the cylinder. Some Hydraulic Flow Control Valves incorporate check valves that allow free flow in one direction while restricting flow in the opposite direction. Understanding these principles helps determine the correct installation method for your specific application.
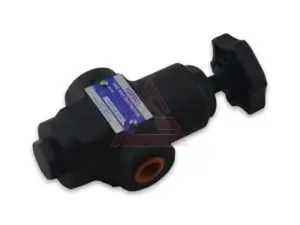
2. Safety Precautions Before Installation
Safety must always be the first priority when working with any Hydraulic Flow Control Valve or hydraulic system.
Depressurize the system: Before beginning any installation work, ensure the hydraulic system is completely depressurized. Operate all hydraulic control levers and move them to all positions, including float positions, multiple times to release trapped pressure.
Lock out/tag out: Follow proper lockout/tagout procedures to prevent accidental system startup during installation.
Wear appropriate PPE: Safety glasses, gloves, and protective clothing are essential when working with hydraulic components.
Clean the work area: Contamination is the leading cause of hydraulic component failure. Ensure all tools, fittings, and the work area are clean before beginning.
Flush the pipeline: Before installing the valve, flush the hydraulic lines to ensure only clean fluid flows through the system.
3. Tools and Materials Required
Before starting the installation of your Hydraulic Flow Control Valve, gather the following tools and materials:
Appropriate wrenches (open-end, box-end, and torque wrench)
Thread sealant or Teflon tape (for tapered threads)
Clean lint-free cloths
Hydraulic fluid for lubricating O-rings
Fittings and adapters as required
Mounting brackets (if needed)
Pressure gauge for testing
Manufacturer’s installation manual for the specific valve
4. Understanding Your Hydraulic Flow Control Valve
Before installation, familiarize yourself with the specific Hydraulic Flow Control Valve you are installing.
Identify flow direction: Most Hydraulic Flow Control Valves have a cast arrow or marking indicating the direction of flow. Installing the valve backwards will prevent proper operation.
Check valve type: Determine whether your valve is a single-acting flow control (regulates flow in one direction) or double-acting flow control (regulates flow in both directions). This affects how you connect it.
Verify pressure and flow ratings: Ensure the valve is rated for your system’s maximum operating pressure and flow rate.
Identify ports: Locate the inlet and outlet ports on the valve body.
5. Planning the Installation Location
Proper placement of the Hydraulic Flow Control Valve is critical for optimal performance.
Meter-in installation (extend speed control): For controlling cylinder extension speed, install the flow control valve on the cap end (blind side) line of the cylinder. This controls the flow entering the cylinder during extension.
Meter-out installation (extend speed control): For controlling cylinder extension speed using meter-out, install the flow control valve on the rod end (piston side) return line. This restricts the flow leaving the cylinder during extension.
Meter-in installation (retract speed control): For controlling cylinder retraction speed, install the flow control valve on the rod end line controlling the flow entering the cylinder during retraction.
Meter-out installation (retract speed control): For controlling cylinder retraction speed using meter-out, install the flow control valve on the cap end return line.
General placement: Install the valve in a location that allows easy access for adjustment and maintenance. Ensure sufficient space around the valve assembly for future adjustments. Install mounting brackets within 150 mm of the valve body for proper support.
6. Step-by-Step Installation Procedure for Inline Valves
Follow these steps to install an inline Hydraulic Flow Control Valve.
Step 1: Lubricate O-rings — Lubricate all new O-rings with clean hydraulic oil. This prevents damage during installation and ensures proper sealing.
Step 2: Install fittings — Install the appropriate hydraulic fittings to the flow control valve. For SAE ORB fittings, torque to 25-35 Nm (for -8 size). For JIC fittings, follow the manufacturer’s torque specifications.
Step 3: Mount the valve — Position the Hydraulic Flow Control Valve in the planned location. Ensure the adjustment knob faces forward and is accessible. If using mounting brackets, secure them properly.
Step 4: Connect the valve — Install the flow control valve and O-ring to the hydraulic fitting on the hydraulic cylinder. Ensure proper alignment to avoid cross-threading.
Step 5: Connect remaining lines — Connect the hydraulic lines from the directional control valve to the inlet port of the flow control valve. From the outlet of the flow control valve, connect a hose to the appropriate cylinder port. Verify the flow direction arrow matches the intended flow.
Step 6: Secure all connections — Tighten all fittings to the manufacturer’s recommended torque specifications. Do not overtighten.
7. Step-by-Step Installation Procedure for Subplate-Mounted Valves
For subplate-mounted Hydraulic Flow Control Valves, follow these additional steps.
Step 1: Prepare the mounting surface — Ensure the subplate or manifold mounting surface is clean and free of debris.
Step 2: Install fittings — Install all fittings onto the mounting plate or subplate first.
Step 3: Position O-rings — Place the O-rings in the appropriate grooves on the subplate.
Step 4: Mount the valve — Install the flow control valve onto the mounting plate using the specified mounting screws. Tighten to the manufacturer’s torque specifications.
Step 5: Connect hydraulic lines — Connect the hydraulic lines to the subplate ports according to your circuit diagram.
8. Determining Check Valve Orientation
Many Hydraulic Flow Control Valves incorporate integral check valves that allow free flow in one direction while restricting flow in the opposite direction.
For meter-in control: The check valve should allow free flow out of the valve (from the pump side to the cylinder side) while restricting flow in the opposite direction. This allows the pump to supply unrestricted flow to the cylinder while the return flow is controlled elsewhere.
For meter-out control: The check valve should allow free flow into the valve (from the cylinder side returning to the tank) while restricting flow in the opposite direction. This allows unrestricted flow to the cylinder while controlling the return flow.
Always verify the check valve orientation matches your intended control method.
9. Routing Hoses and Planning Connections
Proper hose routing is essential for reliable Hydraulic Flow Control Valve installation.
Minimize bends: Avoid sharp bends in hydraulic hoses. Each bend creates pressure drop and potential wear points.
Provide support: Support hoses adequately to prevent stress on the valve connections.
Allow for movement: Ensure hoses have enough slack to accommodate cylinder movement without pulling on the valve.
Avoid heat sources: Route hoses away from hot components or exhaust systems.
Label connections: Clearly label each connection for future maintenance reference.
10. Testing and Adjustment
After completing the installation of your Hydraulic Flow Control Valve, proper testing and adjustment are essential.
Initial system check: Start the hydraulic system and check for leaks at all connections. Operate the system at low pressure first.
Adjust flow control: Adjust the Hydraulic Flow Control Valve as follows:
Turn the adjustment screw clockwise to reduce flow (slow cylinder speed)
Turn the adjustment screw counterclockwise to increase flow (increase cylinder speed)
Cycle the cylinder: Operate the cylinder through several full cycles. Check that the speed is consistent and meets your requirements.
Fine-tune adjustment: Make small adjustments and test again until the desired cylinder speed is achieved.
Check for leaks: After final adjustment, recheck all connections for leaks.
11. Common Installation Mistakes to Avoid
Installing the valve backwards: Always verify the flow direction arrow. Installing a Hydraulic Flow Control Valve in the wrong direction will prevent proper operation.
Overtightening fittings: Overtightening can damage threads or deform O-rings, causing leaks.
Using incorrect sealant: For tapered threads, use appropriate thread sealant. For O-ring fittings, no sealant is required—only lubricate the O-ring.
Ignoring contamination: Even small particles can damage a Hydraulic Flow Control Valve. Keep all components clean during installation.
Placing the valve in an inaccessible location: Ensure the adjustment knob is accessible for future adjustments.
12. Maintenance Tips for Hydraulic Flow Control Valves
To ensure long service life from your Hydraulic Flow Control Valve:
Keep fluid clean: Contamination is the leading cause of valve failure. Maintain proper filtration.
Inspect regularly: Periodically check for leaks, unusual noise, or changes in cylinder speed.
Monitor temperature: Excessive heat can damage seals and affect valve performance.
Test pressure settings: Verify the valve is maintaining the correct flow rate.
Replace seals as needed: If the valve develops leaks, replace O-rings and seals promptly.
Conclusion
Proper installation and hook-up of Hydraulic Flow Control Valves is essential for achieving precise cylinder speed control and reliable system operation. Whether you are using meter-in flow control for extending a cylinder against a load or meter-out flow control for controlling overrunning loads, understanding the installation process—from safety preparations and valve selection to routing connections and final adjustment—ensures optimal performance. By following this comprehensive guide and avoiding common installation mistakes, you can successfully install and hook up any Hydraulic Flow Control Valve for your cylinder application. Regular maintenance and proper adjustment will ensure your pressure compensated flow control valve delivers years of reliable service.